Tutorial How To Make Payment & Use Proxies at ProxyGeo.com
Follow the following steps to buy and take proxies at ProxyGeo.com
1. Create an account at ProxyGeo.com
First, you click here => fulfill the information => click Register.

Note
- Each email address can be used to create one account only.
- Passwords: from 8 to 20 characters, containing at least 1 uppercase letter, 1 lowercase letter, 1 number and 1 special character (Example: Proxy*346$). You should not use a password that is easy to guess (like abcdf#456) to avoid account theft.
Next, you login email to confirm account registration.
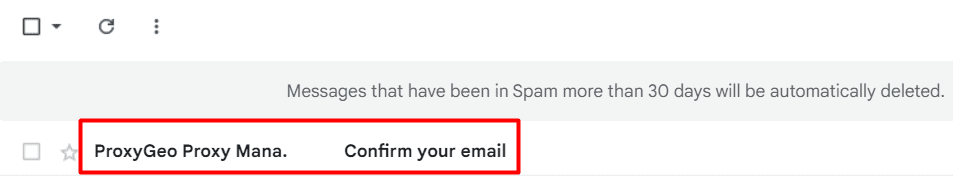
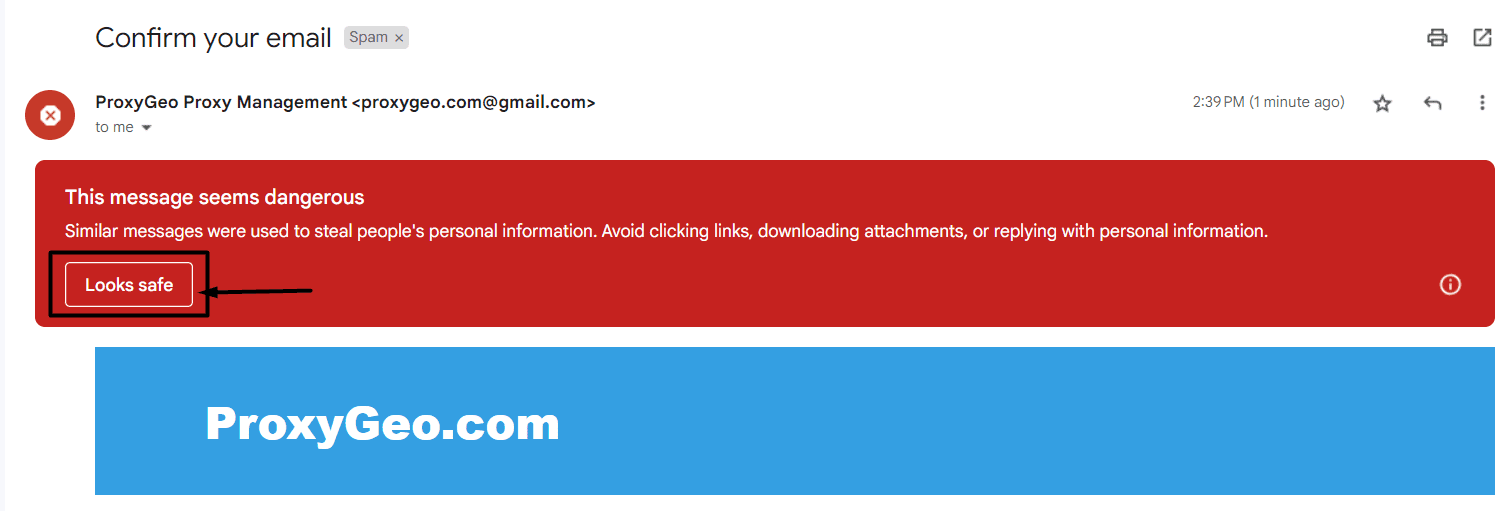
Note: if you do not see the confirmation email in your Inbox, please check your Spam box => click on the received confirmation email => click Look Safe as the following photo => back to your Inbox, you will see the confirmation email from ProxyGeo.
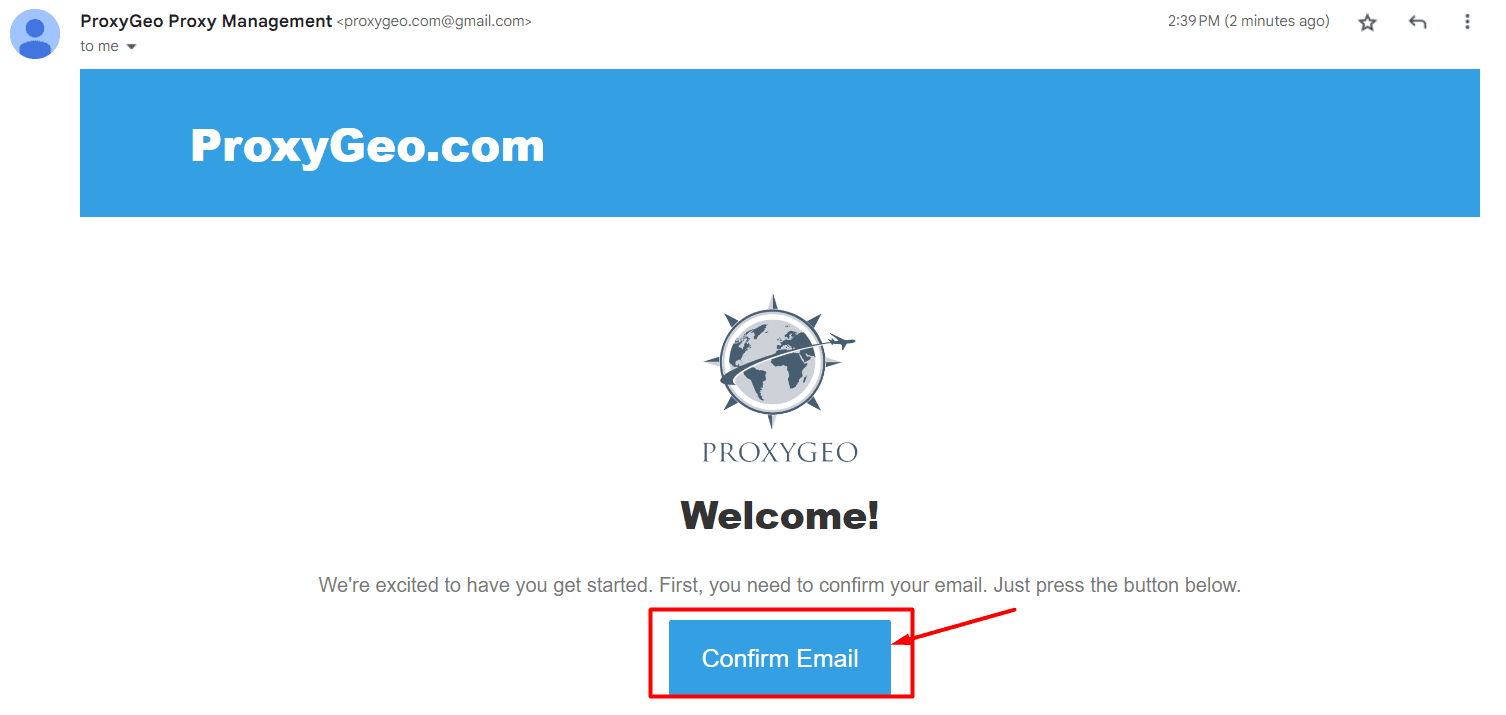
Then, you click on Confirm Email
After confirming email successfully, click on Login

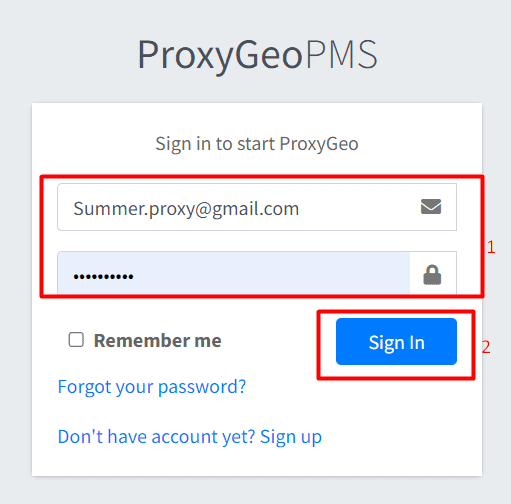
Finally, you sign in your created account at ProxyGeo.com
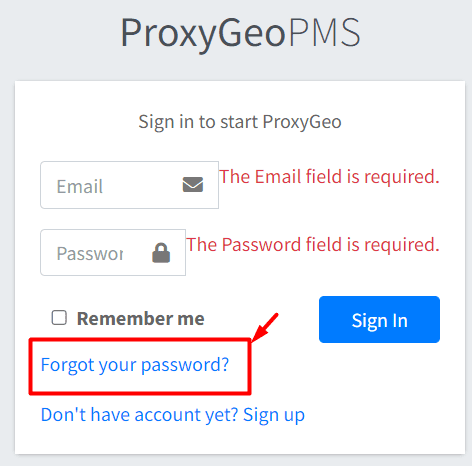
Note: In case you forget your account password, you can click on Forget your password?
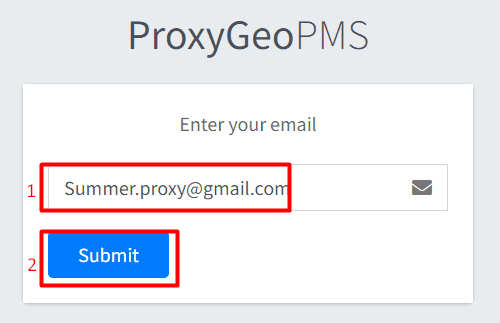
Next, you enter your email address => click Submit
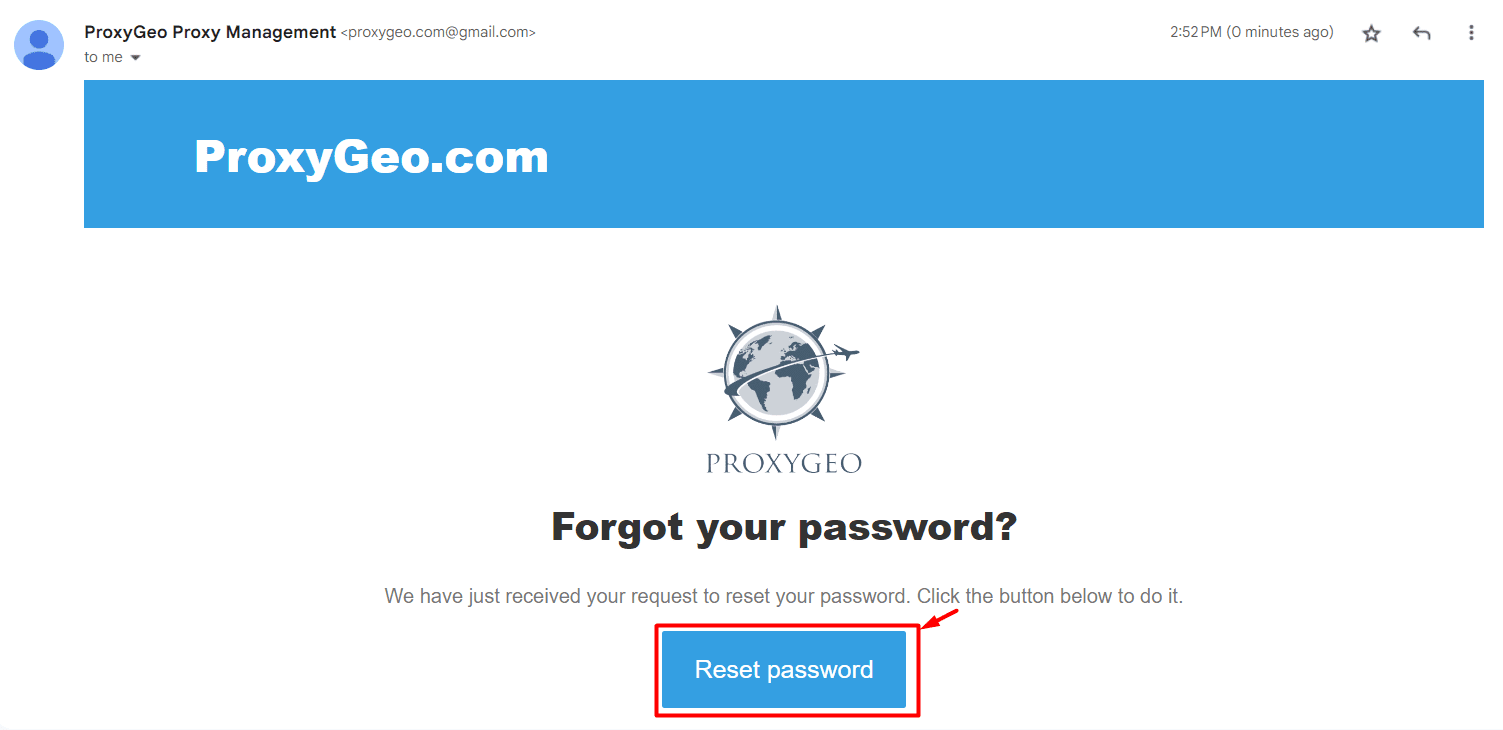
Then, you login your email => click on the incoming email Reset password confirmation

Next, you click on Reset Password
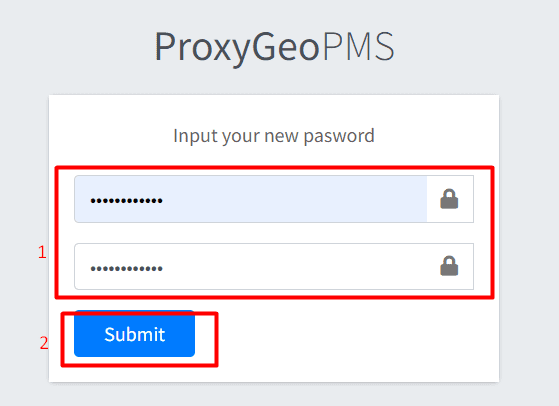
Finally, you enter your new password => click Submit to finish the reset password process
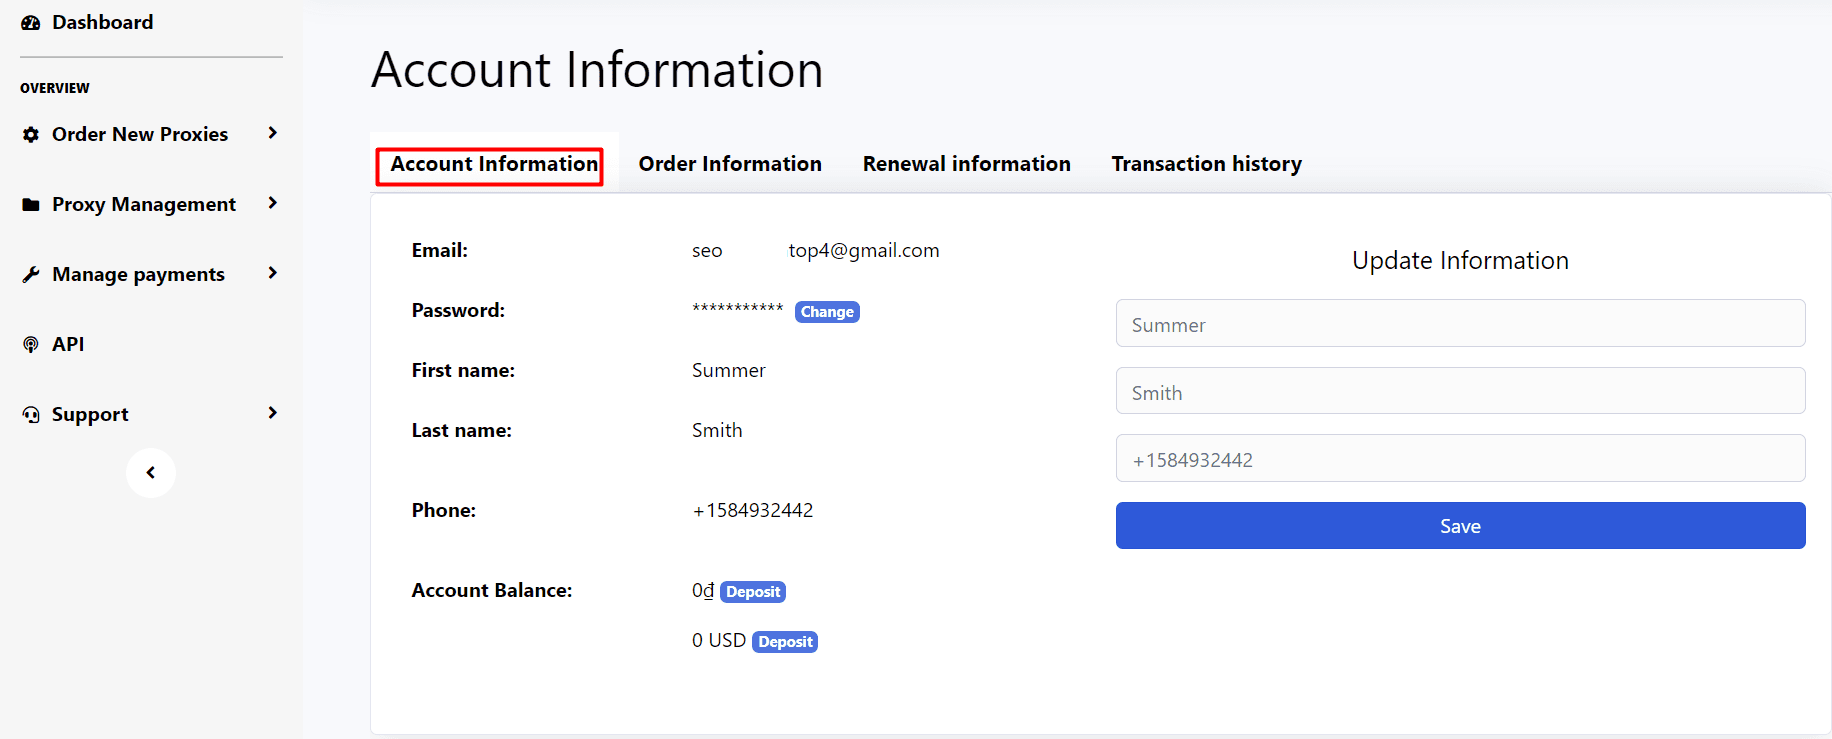
After creating your account successfully, click here to check your account
2. How to Pay for your proxy packages
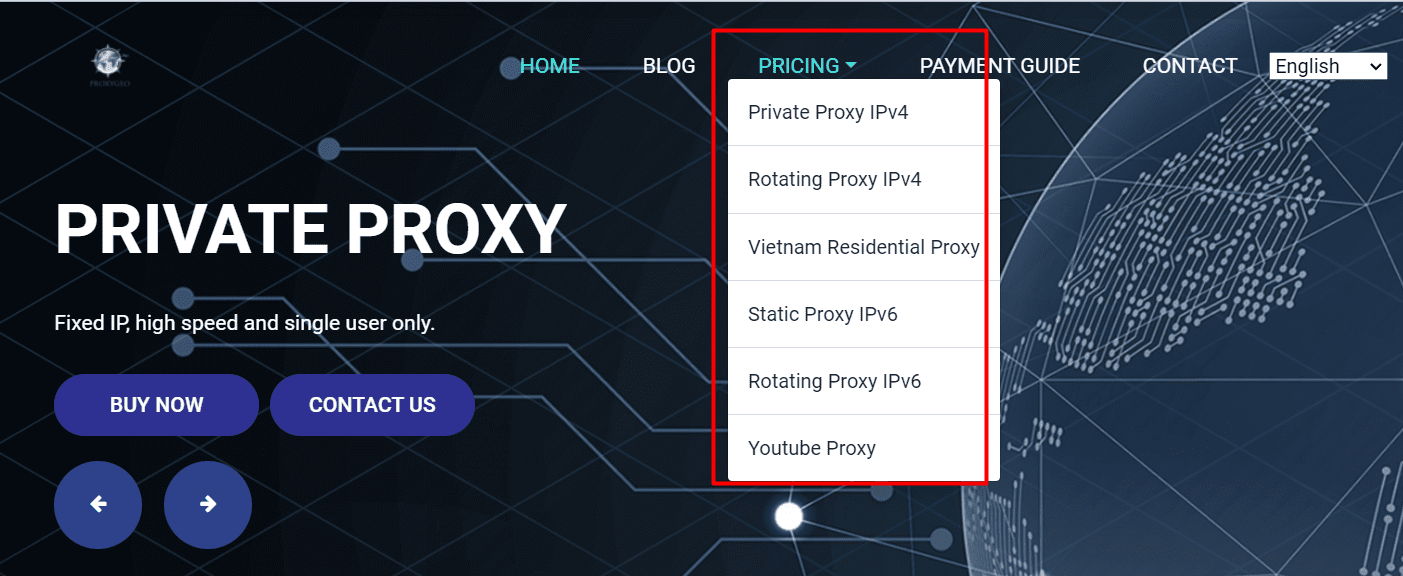
First, visit Proxygeo.com => click on PRICING => select the type of proxy you want to buy
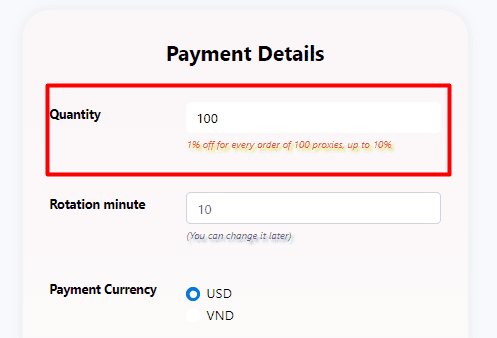
Then, you choose a proxy package that you want to buy => click BUY NOW

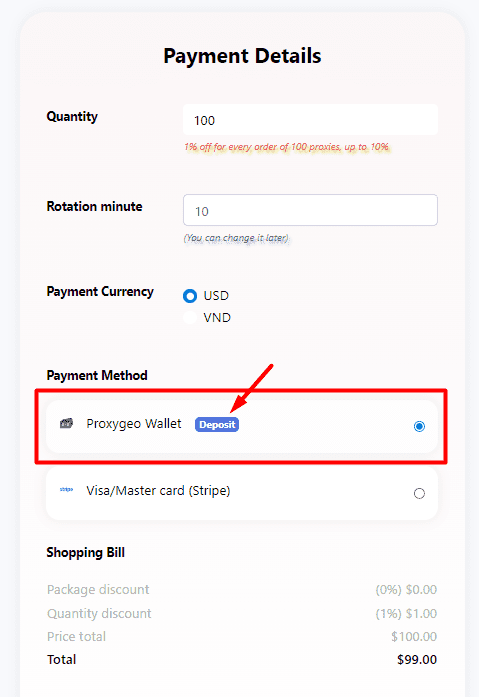
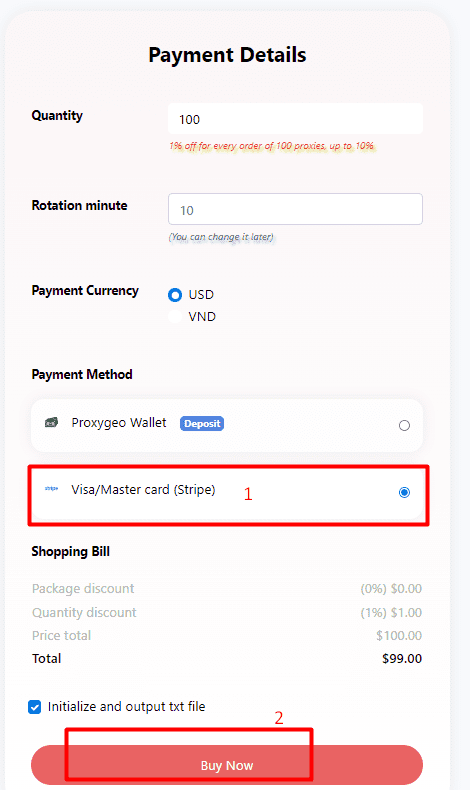
Next, scroll down till you see the Payment Details => put the number of proxies that you want to buy into Quantity section
You can pay for the selected proxy packages in 2 ways: Proxygeo wallet or Visa/Master Card
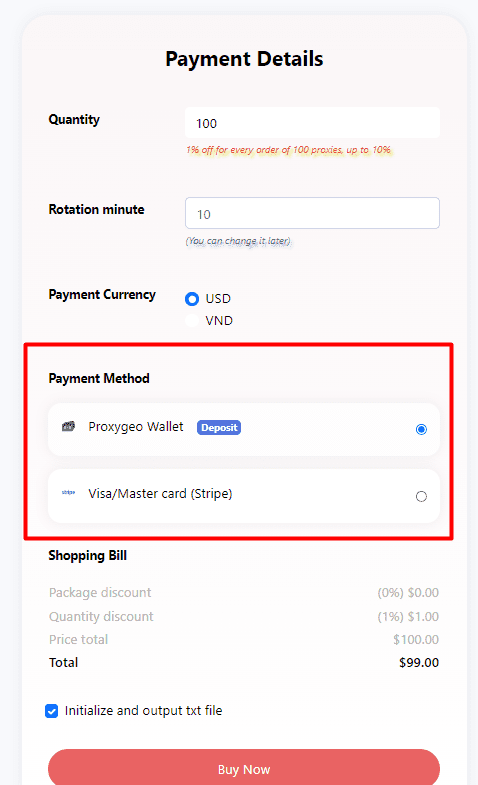
2.1. Pay with Proxygeo Wallet
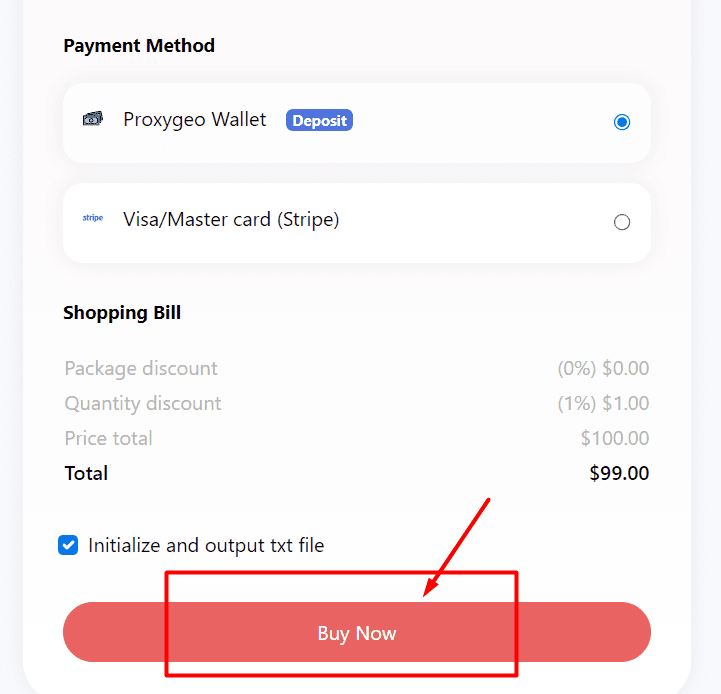
After choosing Proxygeo wallet at Payment Method section, you click on Deposit
Then, you can see different methods to deposit your Proxygeo wallet
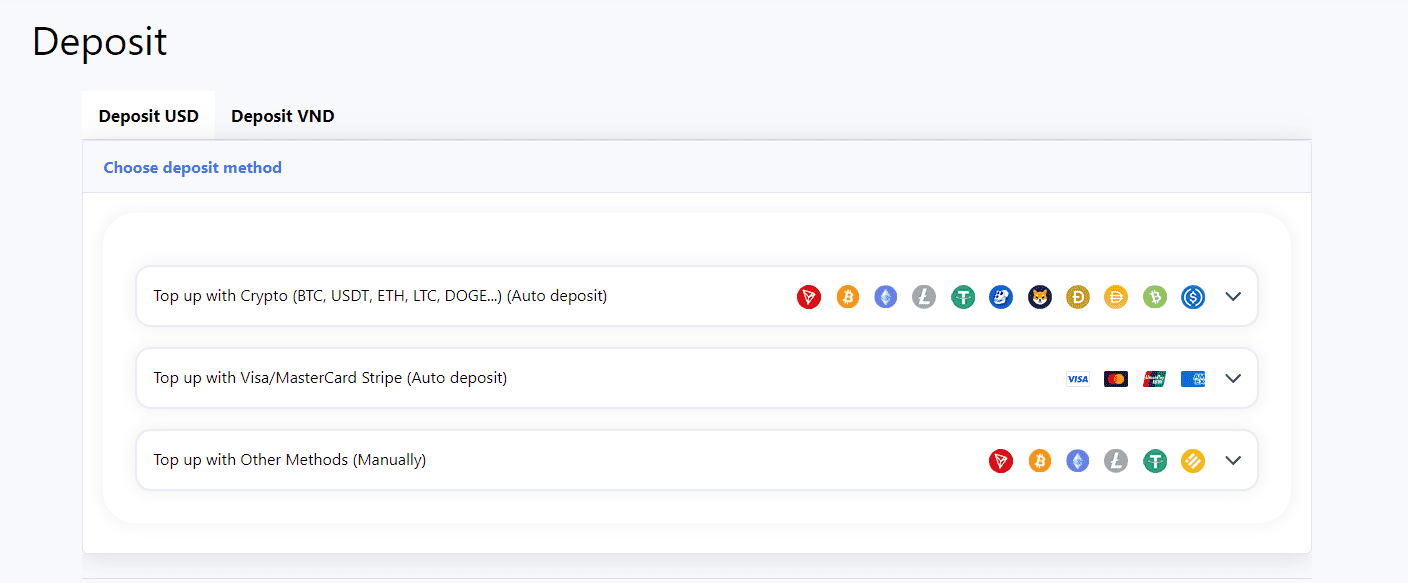
You can deposit your wallet automatically or manually:
2.1.1. Deposit your Proxygeo wallet automatically
There are 2 cases
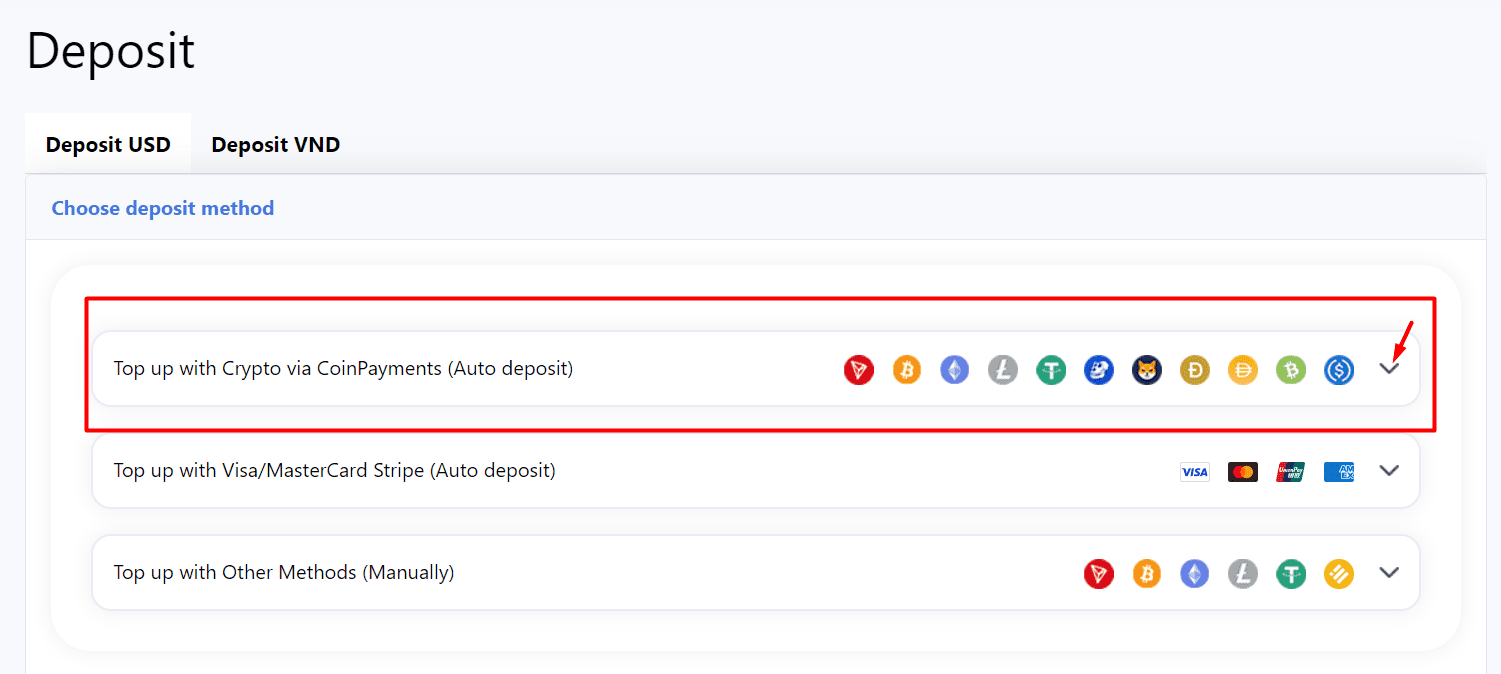
Case 1. If you want to top up your account automatically with crypto, you click on ![]() as the following photo
as the following photo
Next, you enter the amount (USD) that you want to deposit into $ section => click Submit
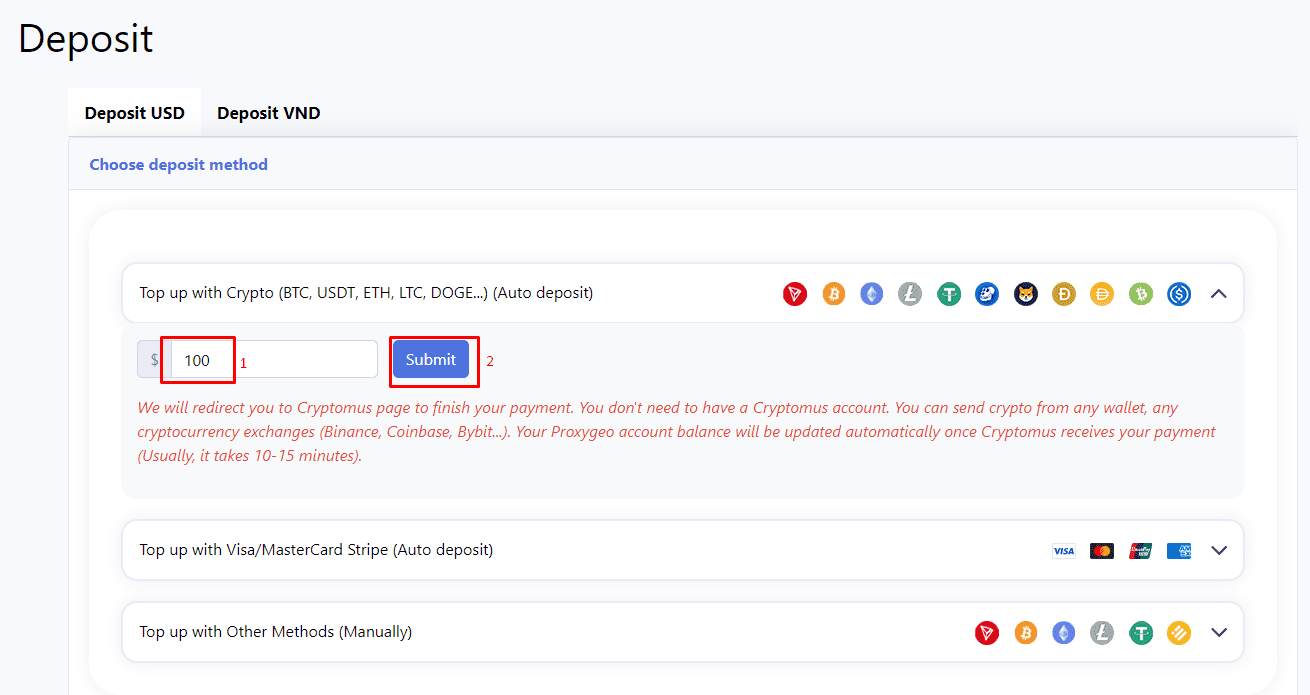
We will redirect you to Cryptomus page. Next, you select the currency you want to use to make payment
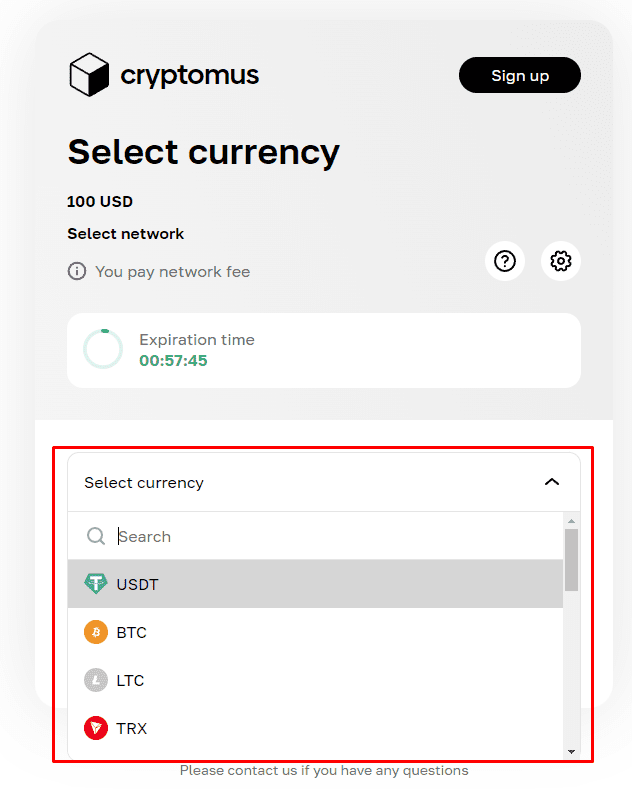
Then, you choose the network
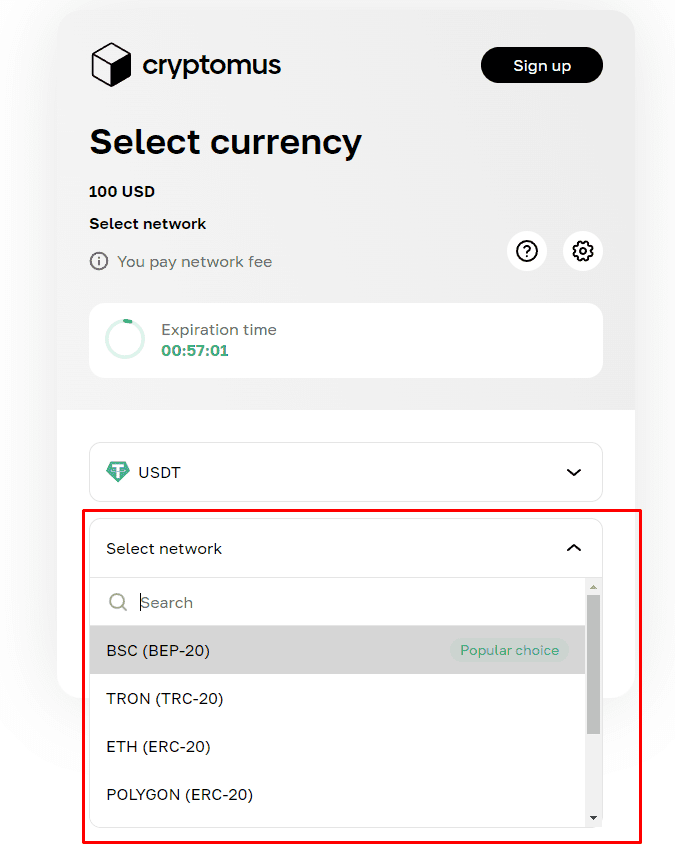
Next, you click Proceed to the payment
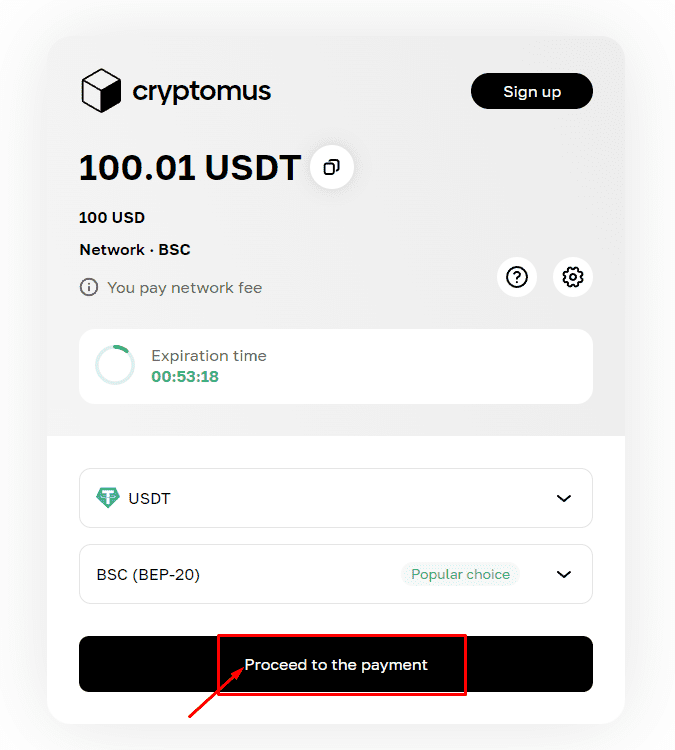
Then, you see our crypto wallet and QR code that you can send money to make payments.
Your Proxygeo account balance will be updated automatically once Cryptomus receives your payment (Usually, it takes 10-15 minutes).
Case 2. If you want to deposit your account automatically with Visa/ Mastercard, click on ![]() as the following photo => put the amount you want to pay => click Submit
as the following photo => put the amount you want to pay => click Submit
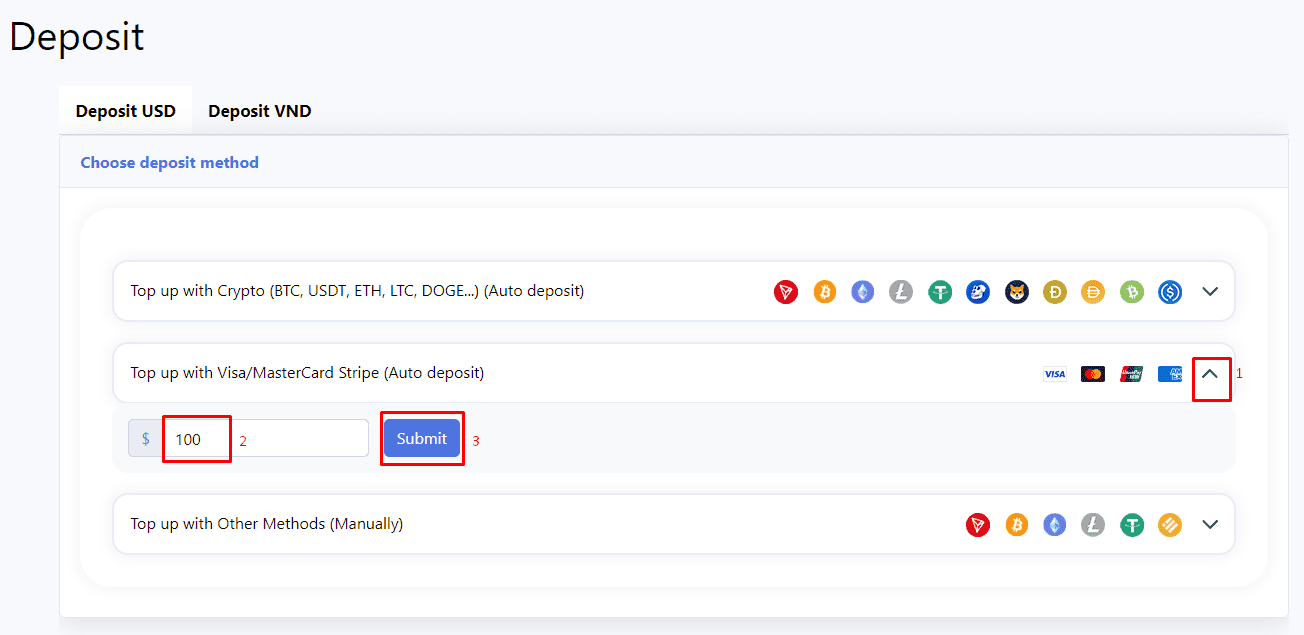
Then, you fulfill all required information => click Pay
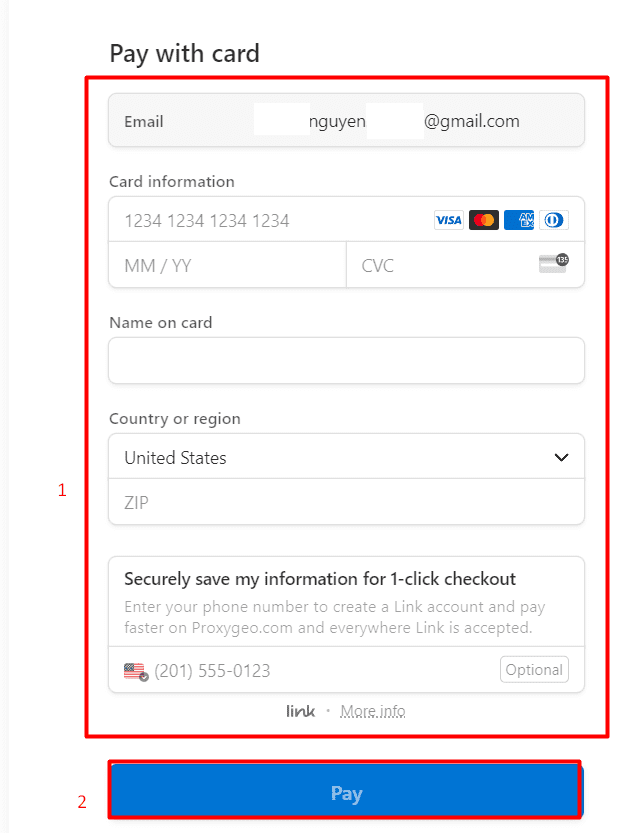
After you complete the payment, your wallet at ProxyGeo.com will be deposited automatically within 5 minutes. In case the amount you deposited has not been added to your account at ProxyGeo.com, please contact us for support (contact info).
2.1.2. Deposit your Proxygeo wallet manually
To deposit your account manually via WISE, you click on ![]() as the following photo, you will see our WISE wallet address.
as the following photo, you will see our WISE wallet address.

Next, please contact us to show the proof of payment (contact info), we will help you deposit your account manually.
Finally, after depositing your Proxygeo wallet, you click Buy Now to buy proxies.
2.2. Pay with Visa/Master card
After choosing Visa/Master card (Stripe) at Payment Method section, you click Buy Now
Next, you fulfill the needed information => click Subscribe
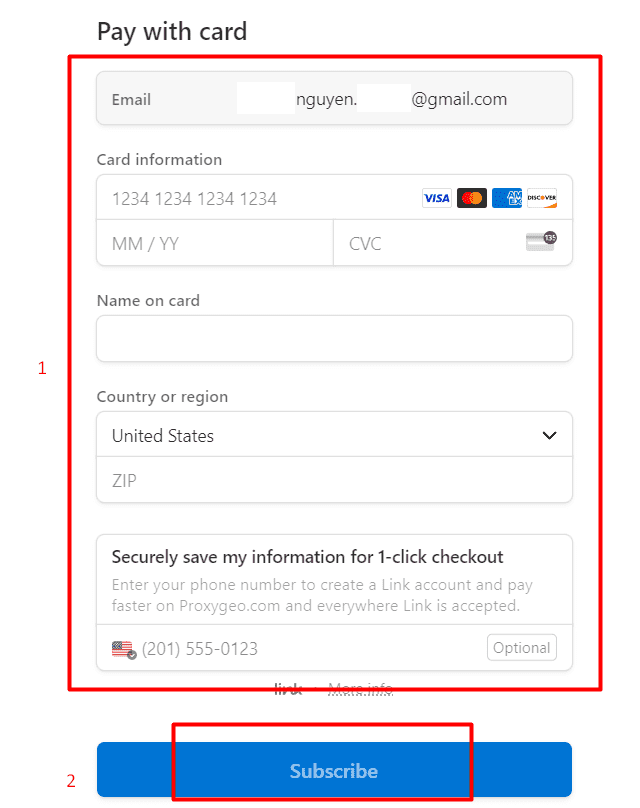
Note: If you pay with Visa/Master card, your proxy package will be renewed automatically.
After making payment, you click on Proxy Management => select the purchased proxy type => you can see your proxies.
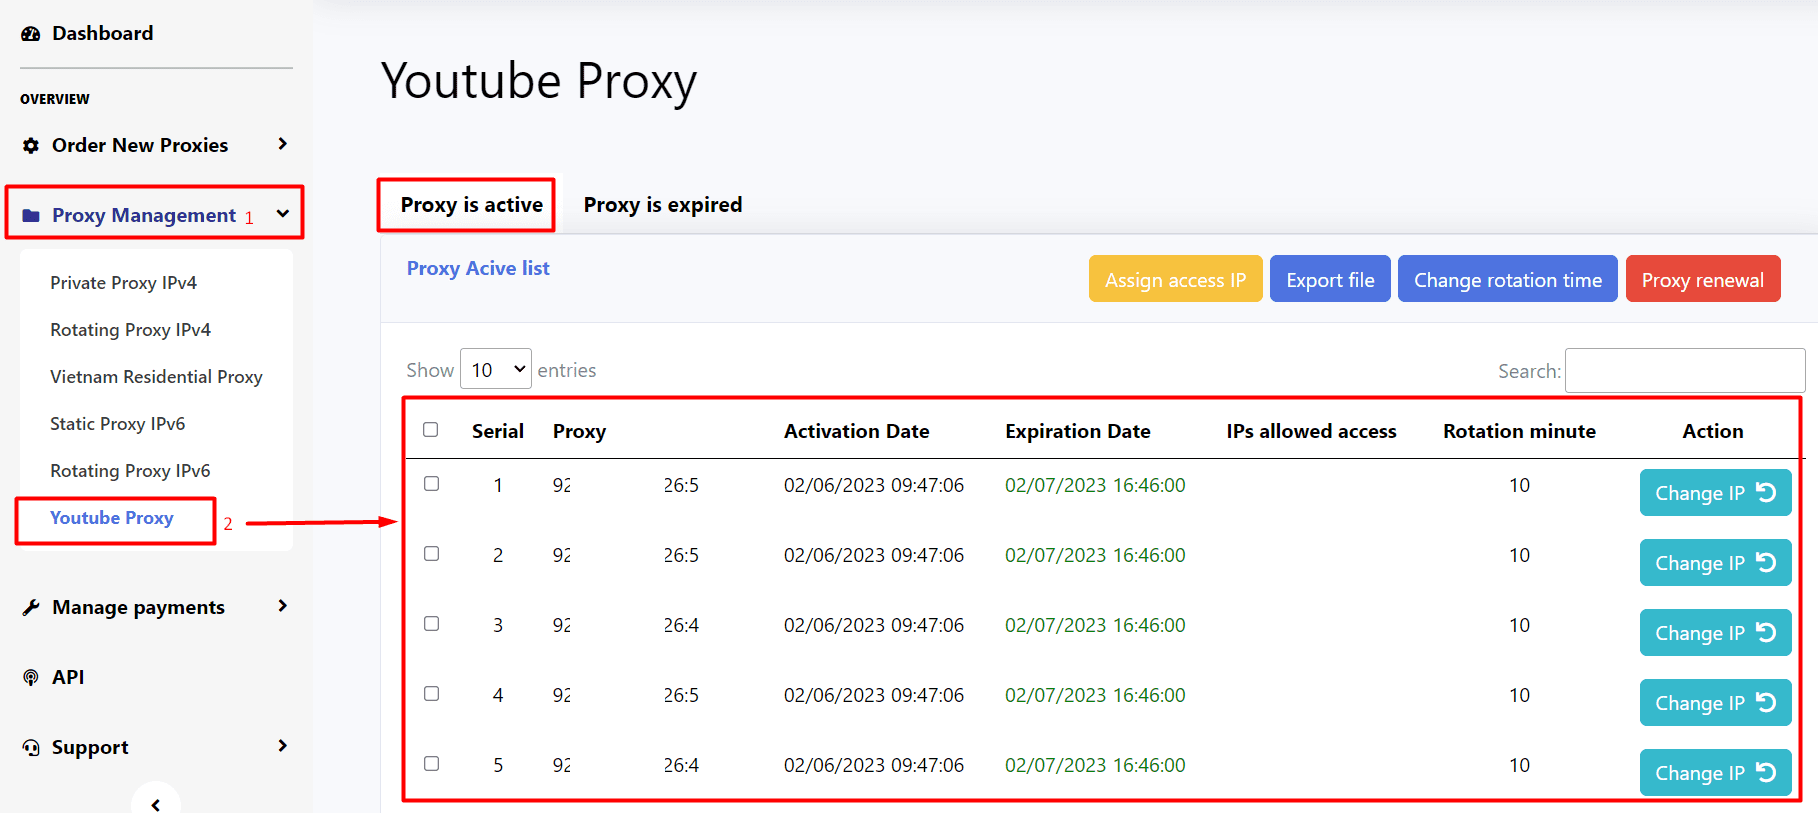
3. How to use the purchased proxies?
3.1. Assign access IP and export proxy file
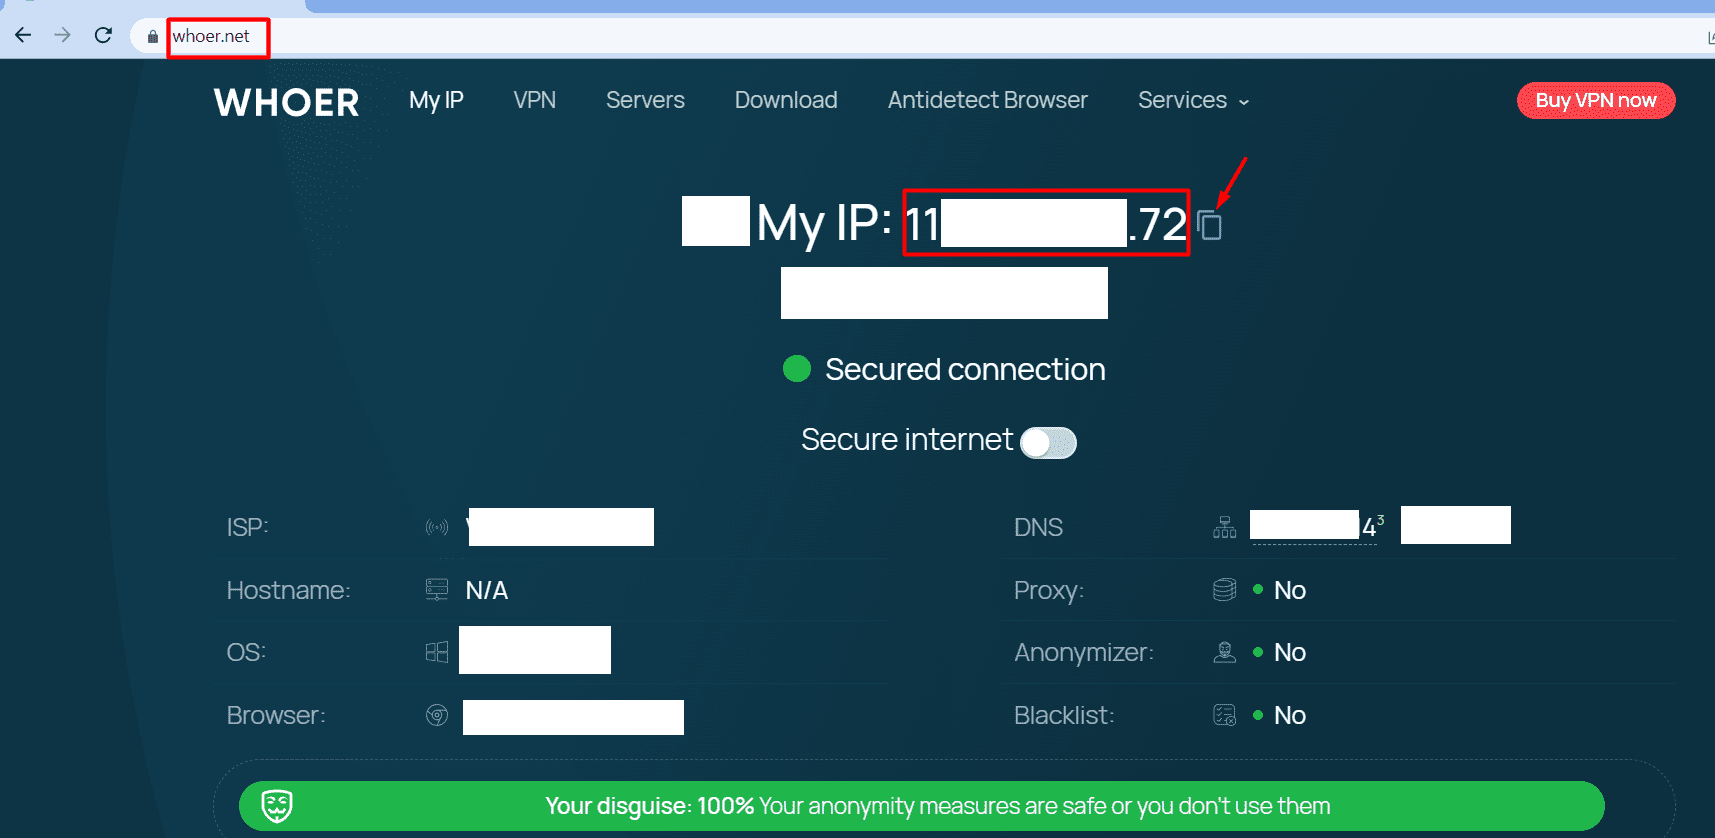
First, visit whoer.net to copy the IP address of your PC
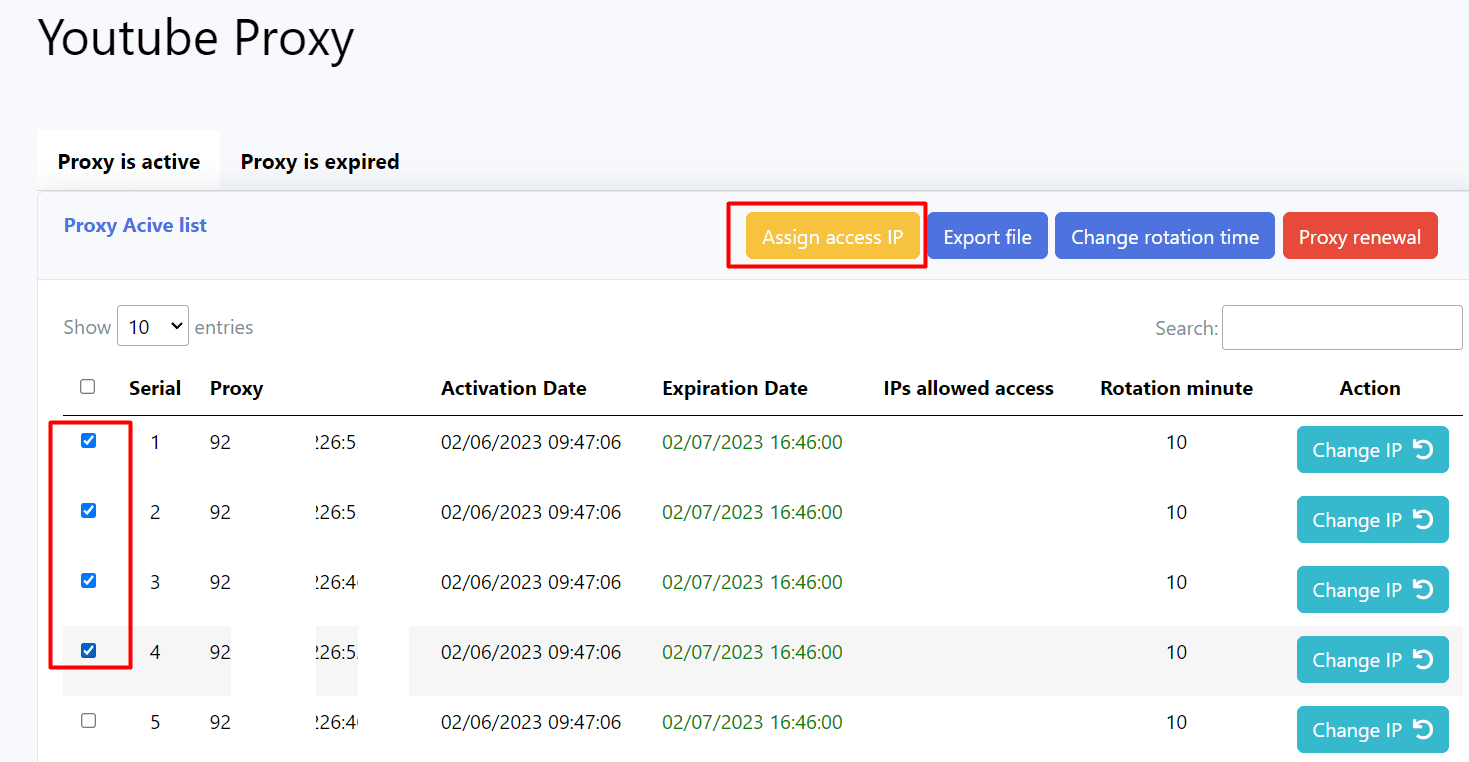
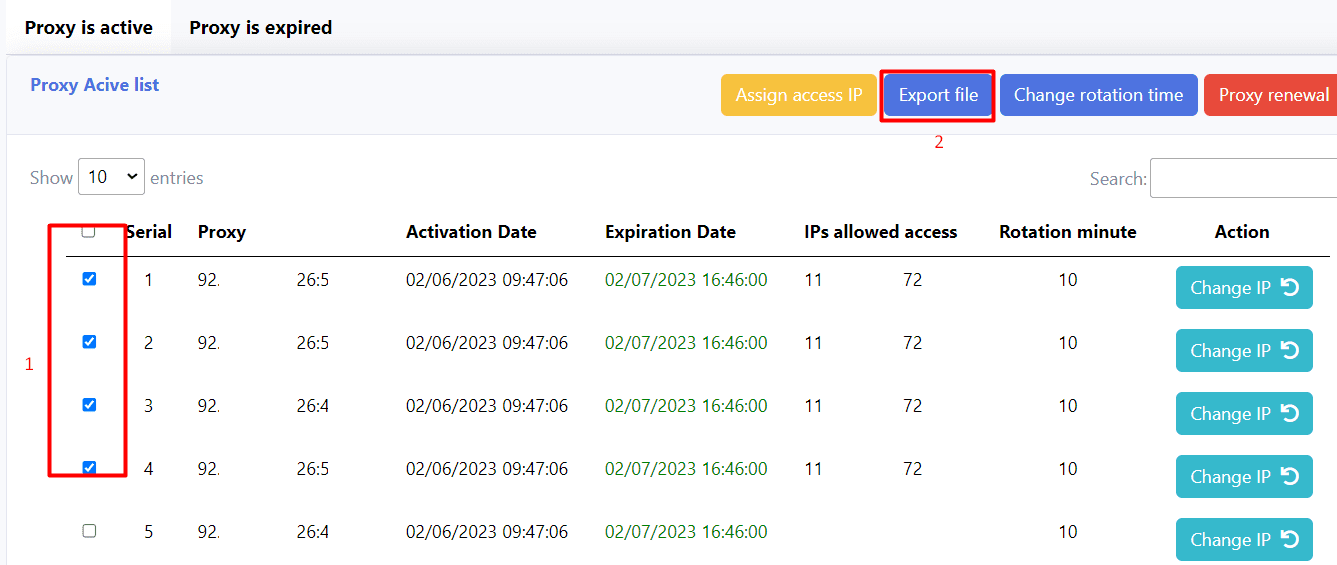
Next, you tick on the proxies that you want to export from your proxy list => click on Assign Access IP
Then, paste the copied IP address as the following photo => click Submit
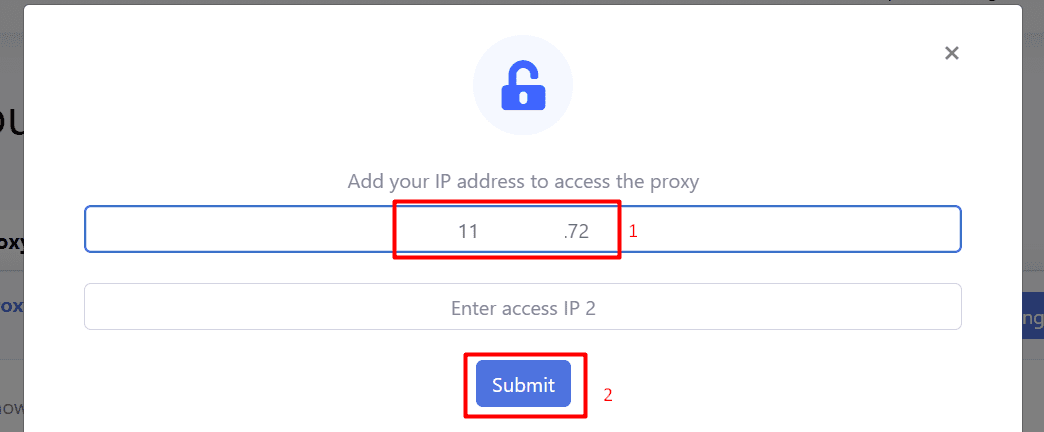
You will see the added IP at the IPs allowed access column
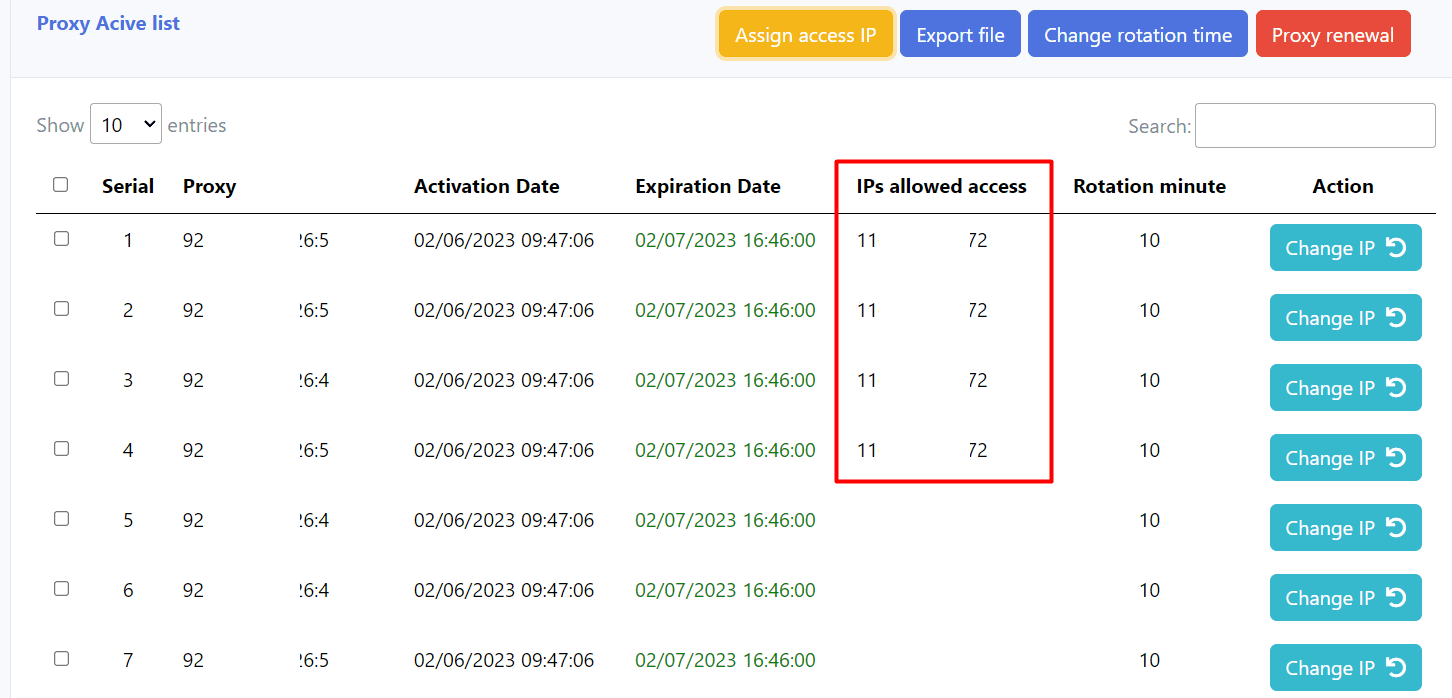
After assigning IP for authorization, you click on Export file to take proxy file.
3.2. Change rotation time
First, you tick on the proxies that you want to change rotation time => click on change rotation time
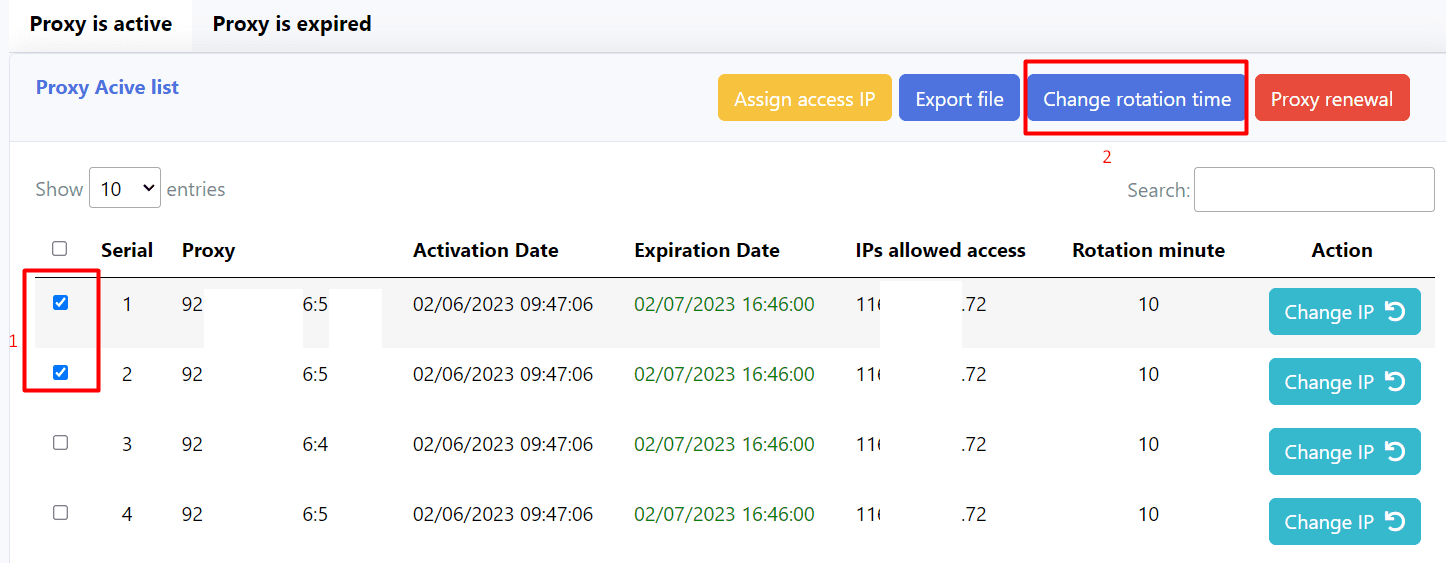
Next, you select the rotation time that you want => click Submit

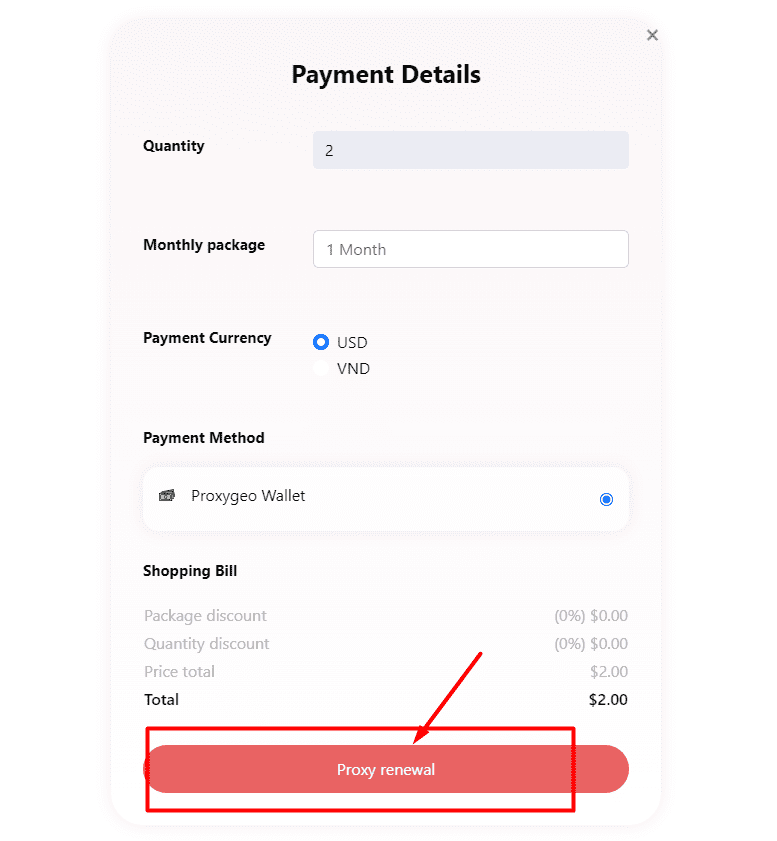
3.3. Renew proxy
First, you tick on the proxies that you want to renew => click on Proxy renewal

Next, check the Payment Details => click Proxy Renewal
Important Notes
- You need to assign access IP => wait for 15 minutes before using the exported proxies.
- With each purchased proxy, you can authorize up to 2 IPs to use it. All computers on the same network have the same IP address.
- If you do not choose (tick on) any proxy, commands will be executed for all proxies in your proxy list. For example, if you do not tick on any proxy before assigning access IP, the added IP will be assigned to all proxies.
- You can manually change the IP of each proxy every 15 minutes. Click on Change IP button in Action column as the following photo. This action can be applied to 4 types of proxy (Rotating Proxy IPV4, Rotating Proxy IPV6, YouTube Proxy, Vietnam Residential Proxy).
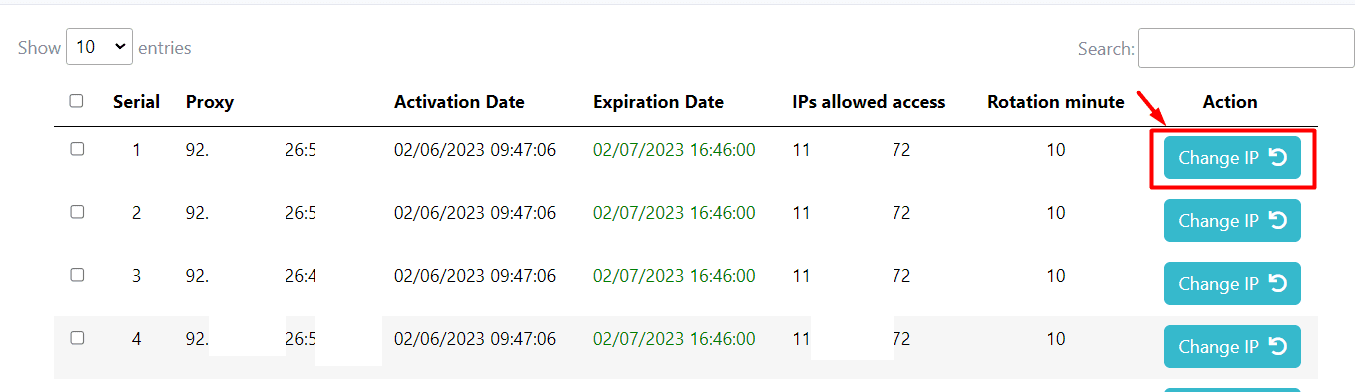 After changing IP, your proxy remains the same. Therefore, you do not need to re-export the file after each IP change.
Thank you very much for following this tutorial.